Recipes

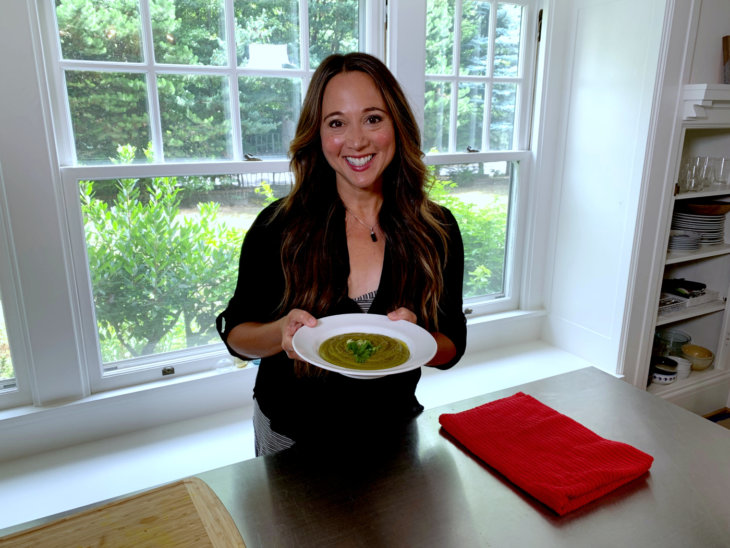
Healthy Green Soup in the Instant Pot

This is the perfect soup to make if you’re feeling under the weather, or if you need a reboot after traveling or eating a lot of restaurant food.

My Healthy Green Soup is loaded with antioxidants, fiber, and anti-inflammatory compounds to help you start feeling better.

We rely on ginger for flavor, as well as anti-inflammatory compounds that also support your digestive and immune systems.

The soup also includes turmeric: an anti-inflammatory rockstar.

And then we have asparagus. This may seem like a boring choice compared to something like kale, but did you know that asparagus has nearly 100 phytonutrient compounds that provide anti-inflammatory and antioxidant benefits? That’s a lot! Asparagus, when blended, also transforms into creamy, silky deliciousness.

On top of that, we add broccoli AND kale — how’s that for some healing and detoxifying firepower? Best of all, we use frozen broccoli and kale. Inexpensive, easy to keep in the freezer, and already prepped for you.

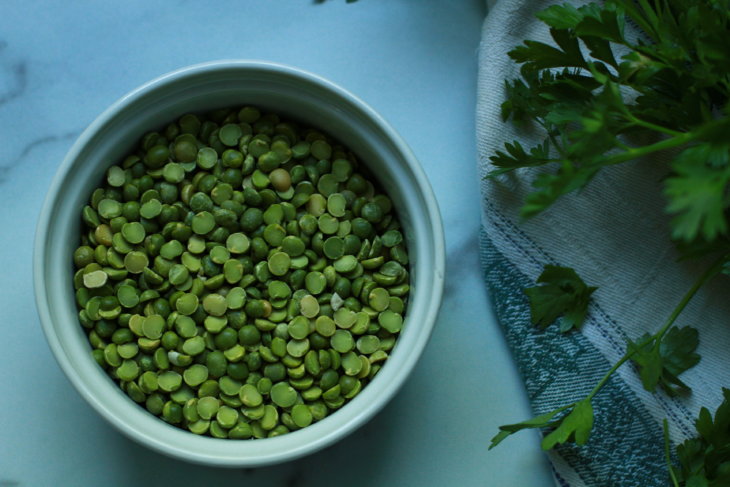
Lastly, we use dried split peas — also very convenient to keep on hand — for some protein and additional fiber.

I love making this soup in my Instant Pot. It comes together with very little effort once you’ve chopped your veggies.


  • split peas
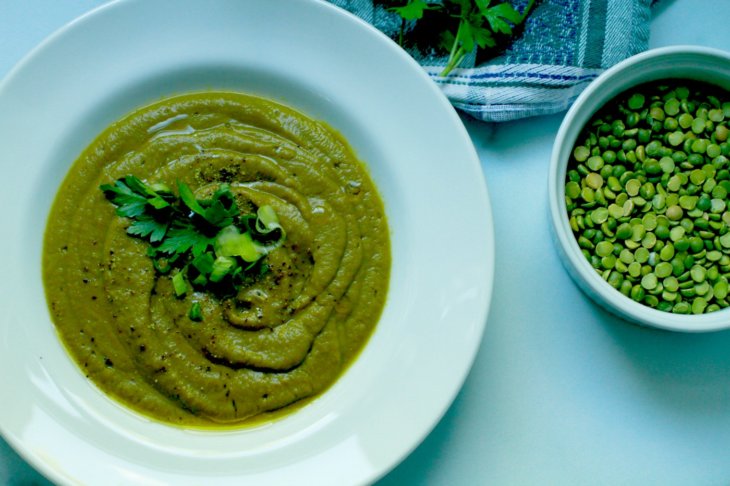
  • healthy green soup recipe
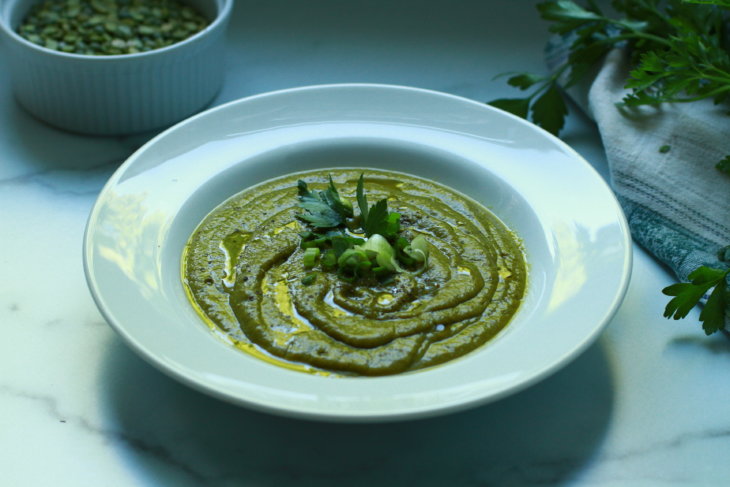
  • healthy green soup recipe
  • healthy green soup recipe

Serves 4-6

Ingredients

  • 1 tablespoon avocado oil (or use water for an oil-free sauté)
  • 1 medium onion, chopped
  • 3 cloves garlic (feel free to add more if you're a garlic lover like me!)
  • 1 tablespoon of chopped fresh ginger (or use 2 tablespoons for a very gingery version)
  • 2 or 3 small pieces of fresh turmeric root, peeled and chopped (or 1 teaspoon of ground turmeric)
  • 1 bunch asparagus, tough ends trimmed off and sliced into 2-inch pieces
  • 1 cup split peas, rinsed
  • 4 cups low sodium vegetable broth
  • 1 heaping cup frozen broccoli florets
  • 1 heaping cup frozen kale
  • 1/2 cup fresh parsley, chopped
  • 1 tablespoon fresh lime juice
  • Sea salt and ground pepper, to taste
  • GARNISH IDEAS: a drizzle of olive oil, chopped tomato, sliced scallion

Directions

  • Step 1

    Set the Instant Pot to sauté mode. Drizzle the avocado oil into the Instant Pot liner (pot) until hot. Then, add the onion and sauté for a few minutes, stirring occasionally. Sauté until the onion soften and start to turn golden. Then, add the garlic and continue to cook, stirring continuously so the garlic doesn't burn.

  • Step 2

    Next, add the ginger and turmeric, stirring until they soften.

  • Step 3

    Add the rest of the ingredients, except for the lime juice and garnish items. Give everything a good stir. Then press Cancel on the Instant Pot, and press the Pressure Cook button. Make sure the Instant Pot is set to high pressure, and set the time for 15 minutes. Set the valve to sealing mode, fasten the lid, and sit back and relax. Or, wash your prep dishes, as I like to do. Clean as you go!

  • Step 4

    Once the 15 minutes of pressure cooking is done, let the Instant Pot release pressure naturally. In other words, don't touch the sealing/venting valve for about 20 minutes. Then, after about 20 minutes, feel free to turn the valve to venting mode, allowing any residual steam to release. Remember to keep your fingers and body away from the valve so you don't get burned by the steam.

  • Step 5

    Press cancel and remove the lid (face it away from you to minimize exposure to steam). Taste the soup and make sure the split peas are fully cooked. If they're not soft yet, then put the lid back on, set to sealing mode, and set the Instant Pot to cook for one minute under high pressure.

    When the soup (and split peas) is done, stir in the lime juice. Taste, and add salt and pepper as desired. Then, the soup cool for 5 minutes.

    Then, use an immersion blender to blend the soup until creamy and smooth. Or, transfer the contents to a regular blender and blend, in batches. Remember to remove the plug in the center of the blender lid so steam can escape, but be sure to cover the hole with a kitchen towel so you don't have a hot soup explosion in your kitchen!

  • Step 6

    Reheat if necessary (it probably won't be) and ladle into bowls, adding the garnish of your choice.

    Enjoy the soup within 3-4 days. You can also freeze the leftovers for up to 3 months.

Notes